

Cart
0
Featured Blog Article
More Details
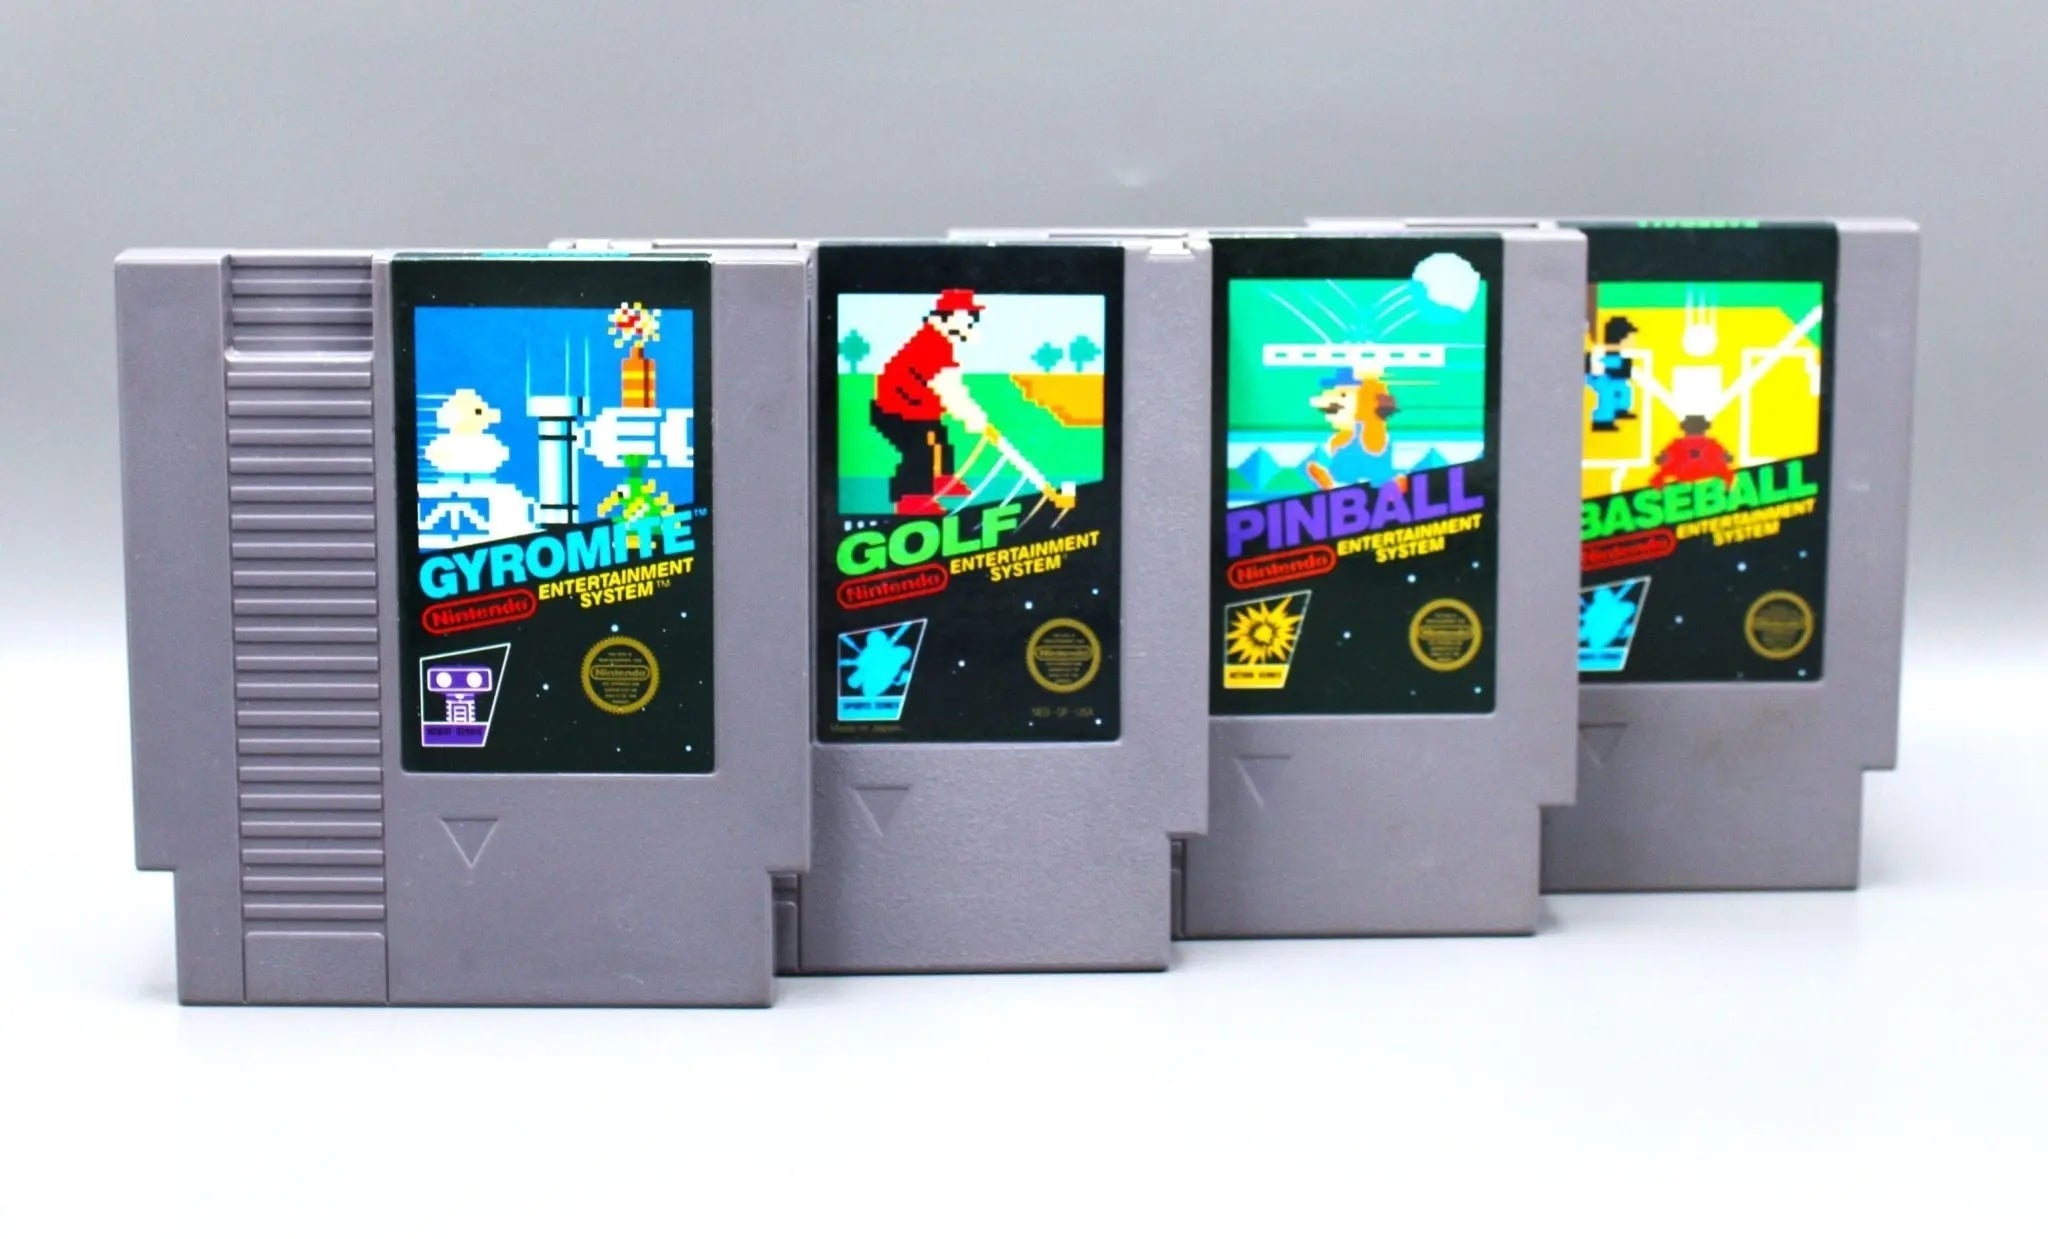
Piecing Together the History of Nintendo NES Game Box & Cartridges: Here are Some Clues to Use When Dating & Authenticating NES Boxed Games & Cartridges
- Promotional Copy in the USA
*A note about Box Flap Codes: Game codes seem to have been introduced to the box flaps of games sometime in the year 1987. Box flaps often feature a numeric code on them that seems to correspond to the date of production. Example: “81021” would translate to October 21, 1988. The first number indicates the year digit, which is followed by the month, then day. Please note that the earliest variations of black box games do not feature a code on the box flaps.
Dating the PCB Chips: Clues Inside the Cartridge
Say you don’t have a box to work with and you’re wondering when your game might have been produced. Or say you would like to confirm that the PCB inside your game is authentic and a likely match to the box that came with your game. Well, good news! You can peek at the game’s printed circuit board and find a date on its chips, most of the time.
The date format can vary by game.
Some chips use a YMW format, indicating the year, then month, then week of the month. For example, 5K2 corresponds to week 2 of October 1985. How did we get October? K is the 10th letter of the alphabet, and October is the 10th month of the year.
Other chips use a YW format, indicating the year then the week of the year. For example, 8549 would indicate the 49th week of 1985, approximatel
Featured Blog Article
More Details
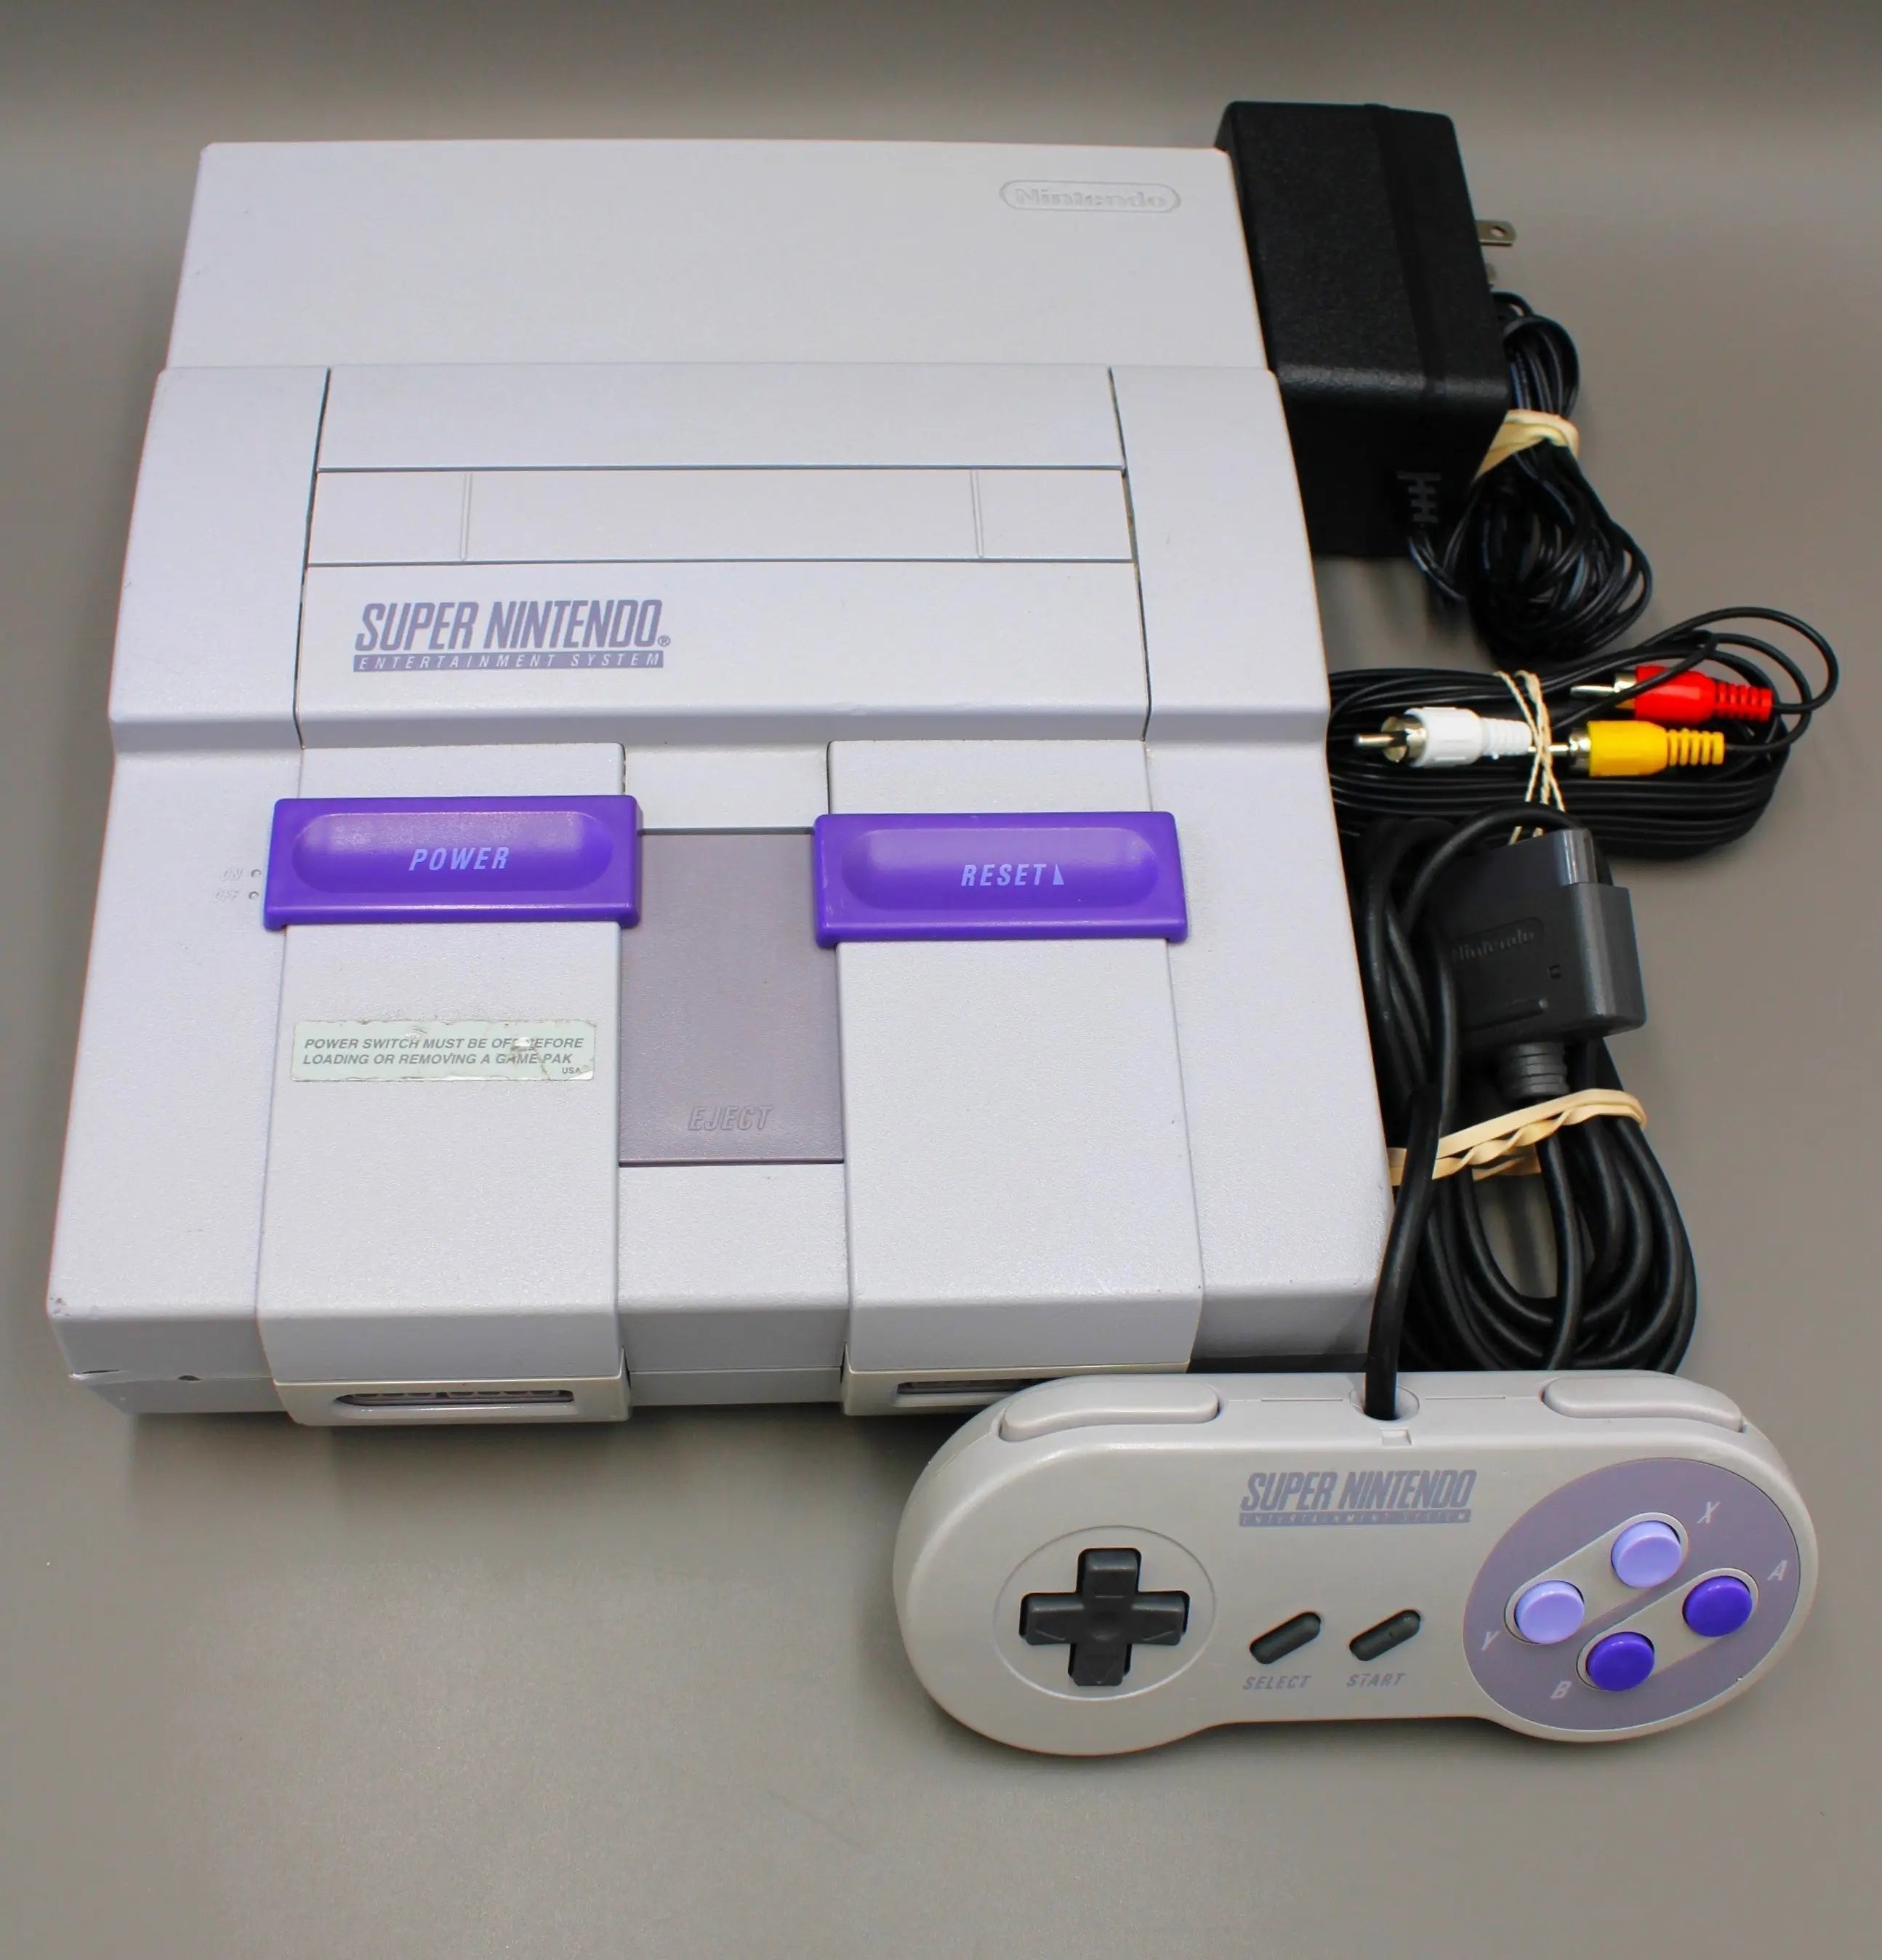
Indicators that your Super Nintendo Console is a Rare 1-CHIP Model
Is my SNES a 1 Chip model? The very first Super Nintendo system was released in 1991 in North America. The Super Nintendo console delighted video game enthusiasts with its improved sound, visuals, and accompanying game library.
Although even the first Super Nintendo was groundbreaking in these areas, a later model released around 1995 called the "1-CHIP" SNES was especially pioneering. The motherboard design of the 1-CHIP SNES enables it to output better graphics than earlier revisions of this Nintendo system. The 1-CHIP is highly sought after by collectors because it offers some of the best gameplay visuals you can get on a Super Nintendo. It is also somewhat rare to find, which makes treasure hunting for it even more thrilling!
Prior to the year 1995 or so, Nintendo designed their Super Nintendo console motherboards so that they used 3 chips for graphics and central processing. These three chips are called the CPU, PPU1, and PPU2. When Nintendo revised the SNES motherboard around 1995, all 3 of these chips were combined into one single chip called the S-CPUN. This hardware change is what gave this model of the SNES more graphics processing power.
How do I know if my SNES is a 1-CHIP version?
1. Look at the serial number.
The serial number barcode is printed on a sticker located on the bottom of the console beneath a barcode.
One obvious indicator that you may have a SNES with a 1-CHIP motherboard design is if the console's serial number begins with "UN3". A 1-CHIP SNES serial number will always start with a UN3. However,
Featured Blog Article
More Details
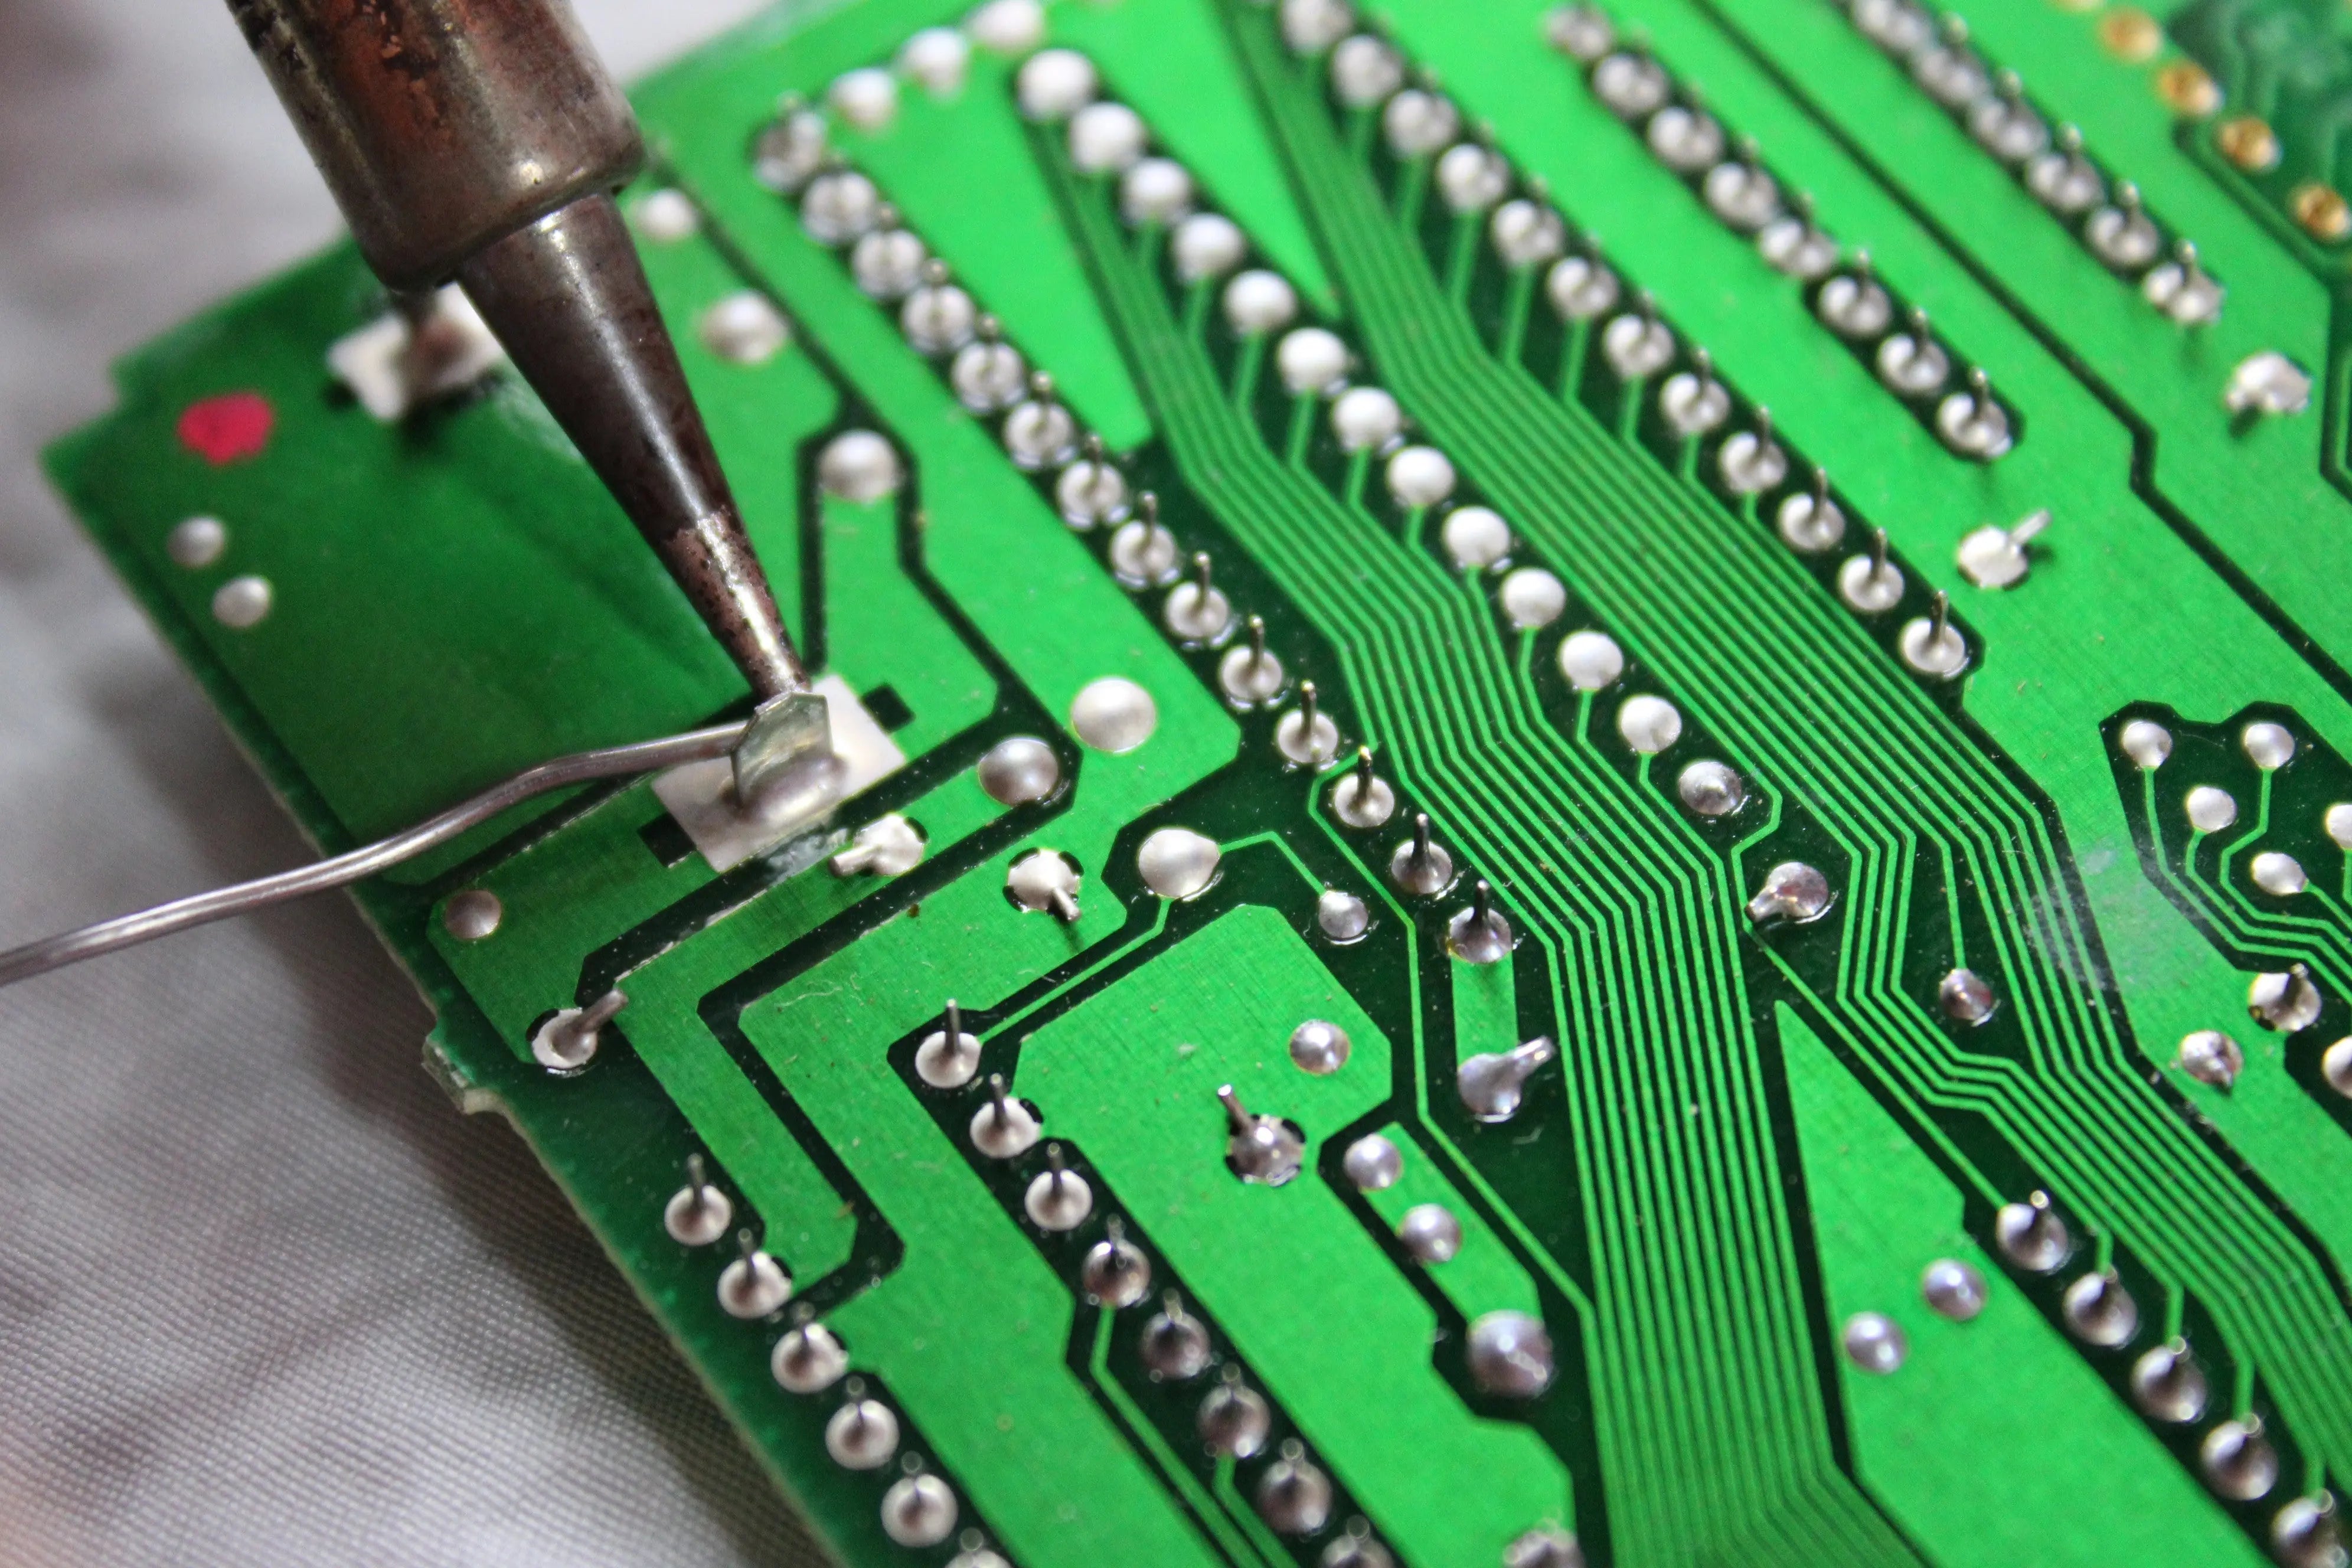
The Basic Essentials of Soldering when it Comes to Gaming Systems and Video Game Save batteries.
Soldering can be scary for a lot of people at first. My first SNES save battery took me at least 50 minutes! Vegas Stakes! Now, it usually takes me 5 minutes. I wasn’t using the right equipment and obviously people tend to get better with practice. These are some suggestions for setting yourself up to solder!
- Buy a nice solder station. (Usually, will come with a roll of solder roll)
- Use the appropriate solder. (some elements work better with electronics than others) We recommend a 60 percent amount of tin and 40 percent lead.
- Use copper desoldering wick/braid with flux. (We recommend 2.4mm in width)
- Have flux handy! (No-clean flux preferred)
- Isopropyl alcohol. (preferred percentage minimum of 90%)
- Q-tips.
Let’s start with something simple:
- Power on your soldering station to approximately 600 to 650 Farenheit (You can use lower temperatures).
- Place your no clean flux on the old solder you want to remove.
- Cut a piece of copper wick braid to use for desoldering
- Copper conducts electricity, so be prepared for the braid to become hot
- Once your soldering iron is at the correct temperature place it over the old solder and hold it into place until you see the old solder s
Game Boy,
Game Boy Advance (GBA),
Game Cartridge Fix,
Gamebit Tool 4.5mm/3.8mm,
Gaming Knowledge,
N64,
NES,
Retro Game Cartridges,
Retro Gaming,
Sega Genesis,
SNES,
Tri-tip,
Video Game Collector,
Video Game Repair,
Video Games
0 comments
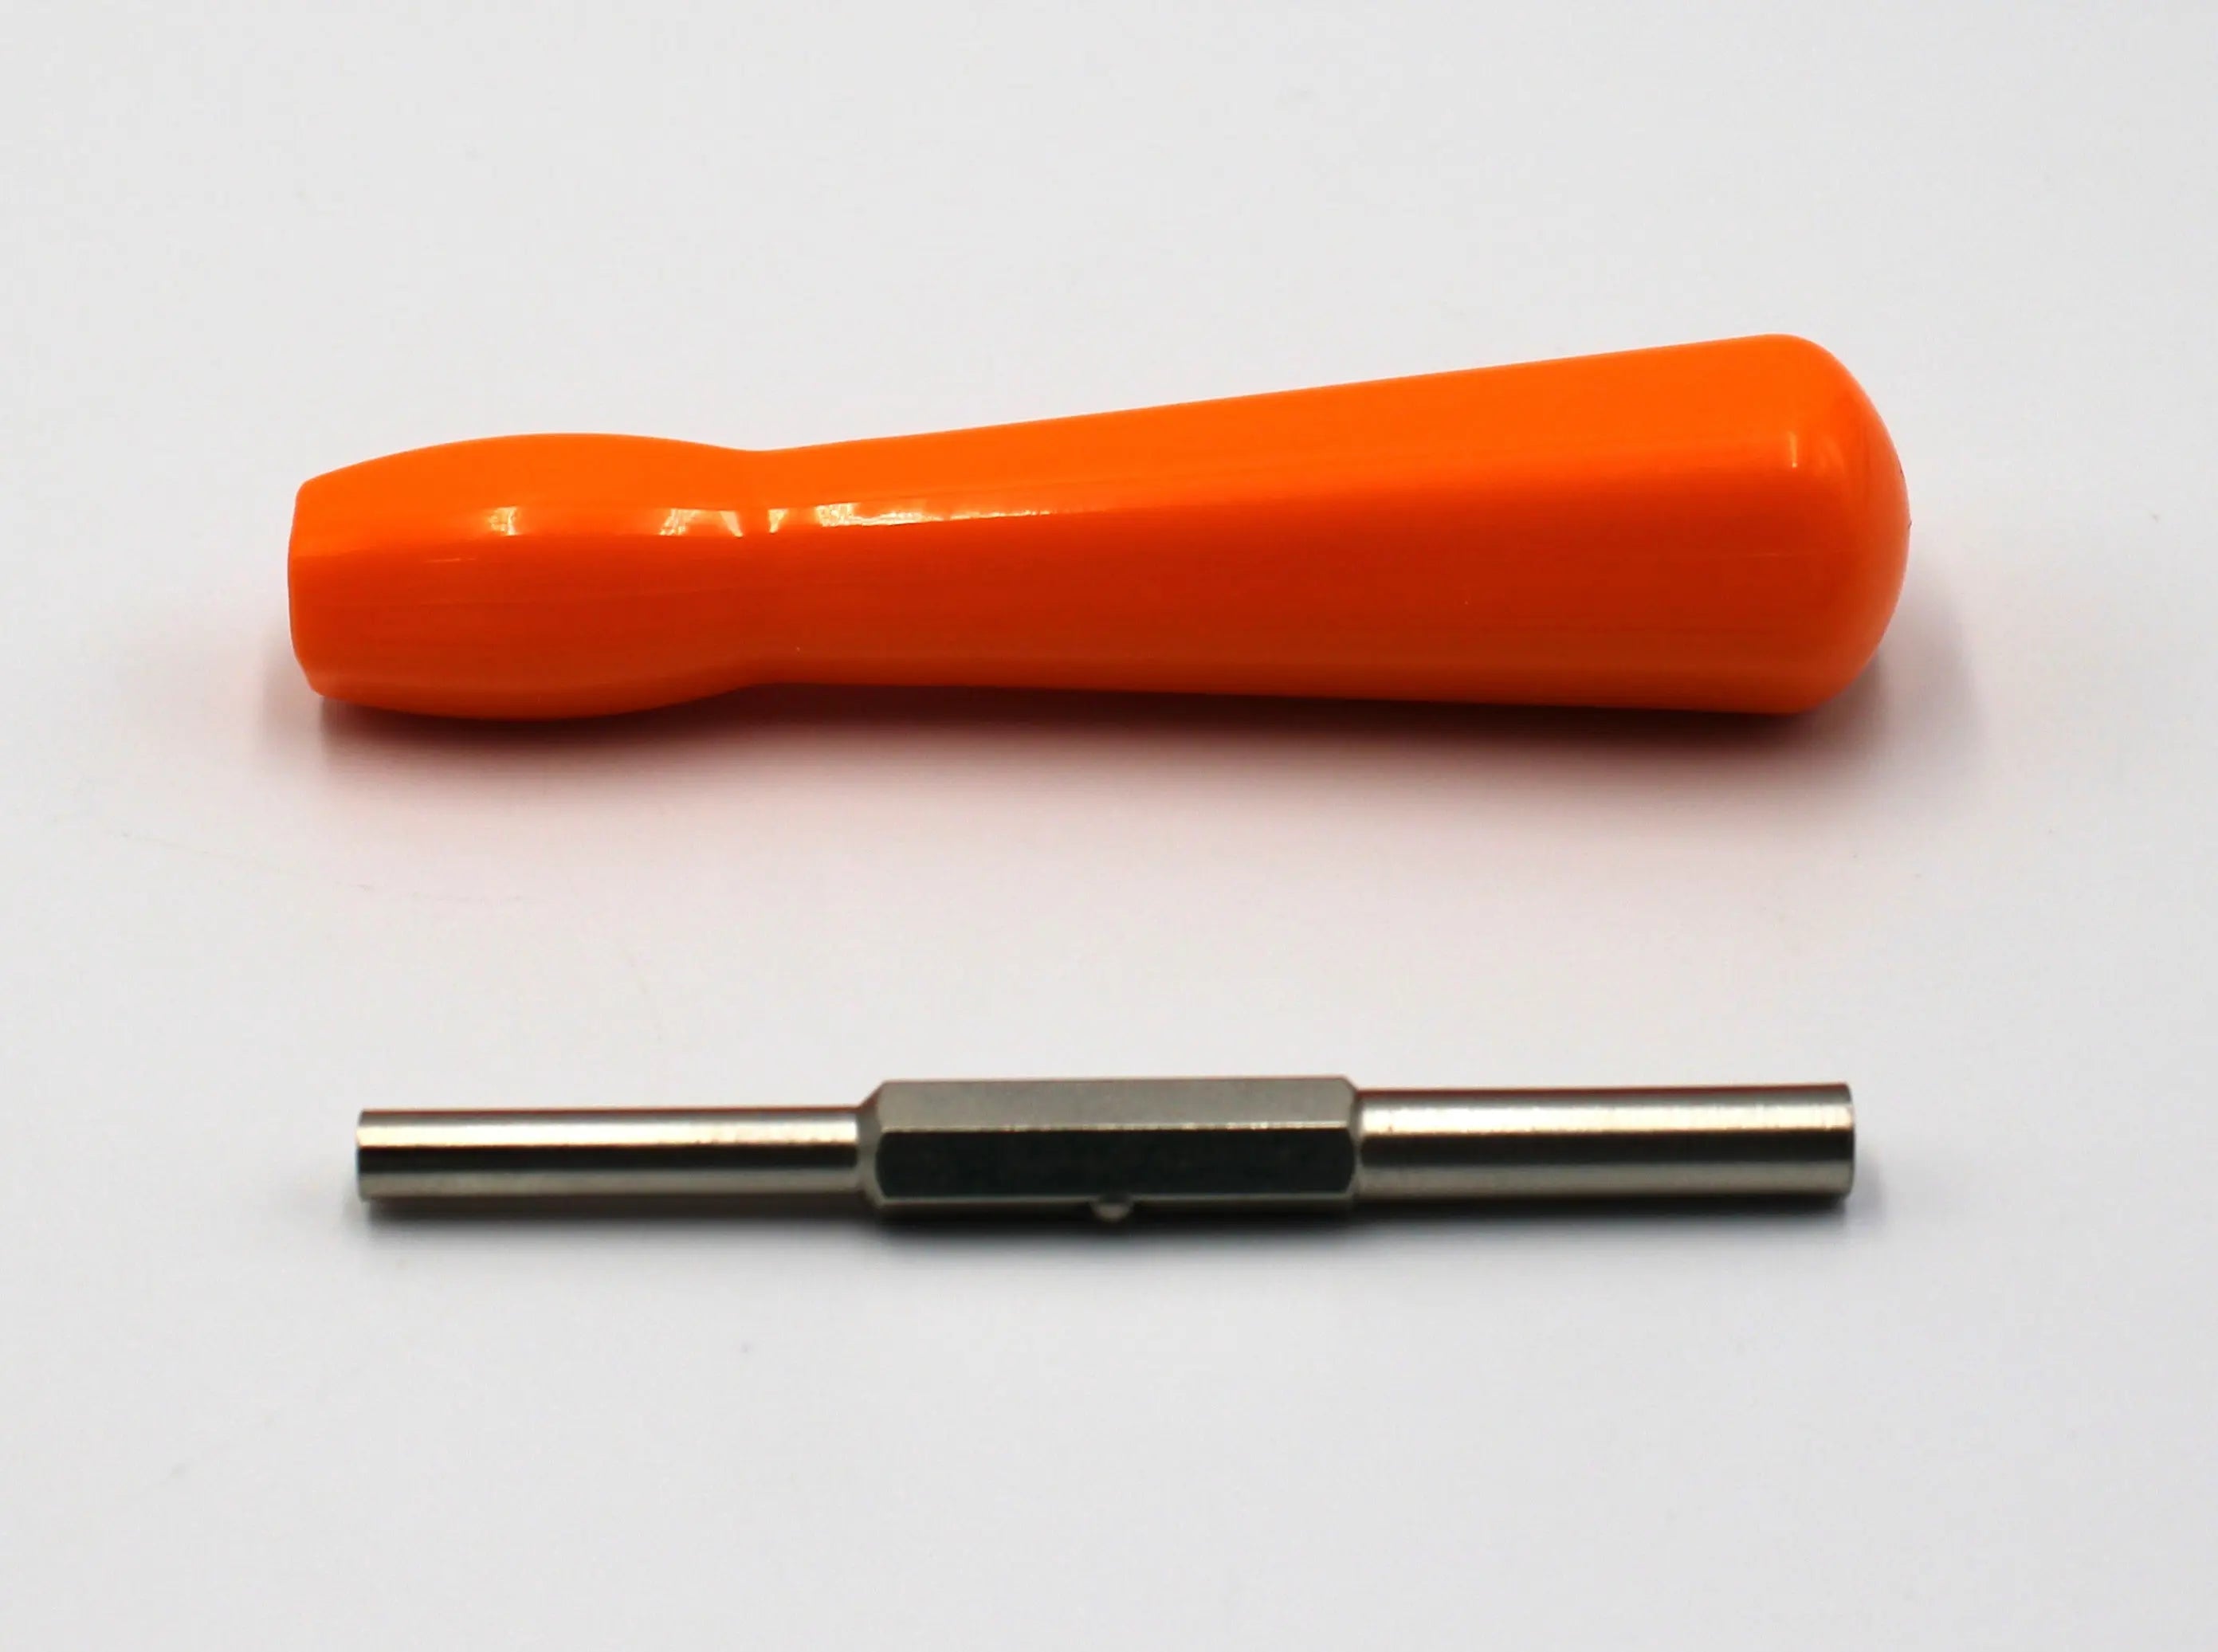
What is the 4.5mm and 3.8mm Gamebit Screwdriver Needed to Disassemble Retro Video Game Cartridges?
When it comes to retro gaming, whether you're a collector, someone who loves to repair and restore old gaming cartridges or you simply just want to see what the inside of a retro video game cartridge looks like, then understanding the tools required to disassemble these games is essential. One of the most crucial tools in your gaming kit when dealing with classic game carts such as, but not limited to, the Nintendo NES, SNES, and the Sega Genesis is the Gamebit screwdriver. These specialized tools are designed to handle the unique screws used in these systems, particularly the 3.8mm and 4.5mm variants. These games aren’t getting any younger and if you want to really get in and clean those dirty carts or just study a board, then let’s educate ourselves on the gaming bit required to disassemble those bad boys!
Dude… What Are Gamebit Screws?
Gamebit screws are distinctive, five-pointed screws used in many retro gaming cartridges. Their unique shape is designed to prevent tampering and unauthorized repairs, making them a pain for anyone trying to disassemble these devices without the right tools. Remember, Amazon didn’t have cheap and super-fast shipping back when this preventative measure was first implemented. Although, back in the 80s and 90s, people still got their hands on these bits and would sometimes switch out the boards in game cartridges from the video rental store. Remember those? To open up these game cartridges, you need a 3.8mm or 4.5mm Gamebit screwdriver... most of the time. We’ll dive deeper. However, these sizes are the most common for accessing the internal cartridge components safely and effectively

0 comments
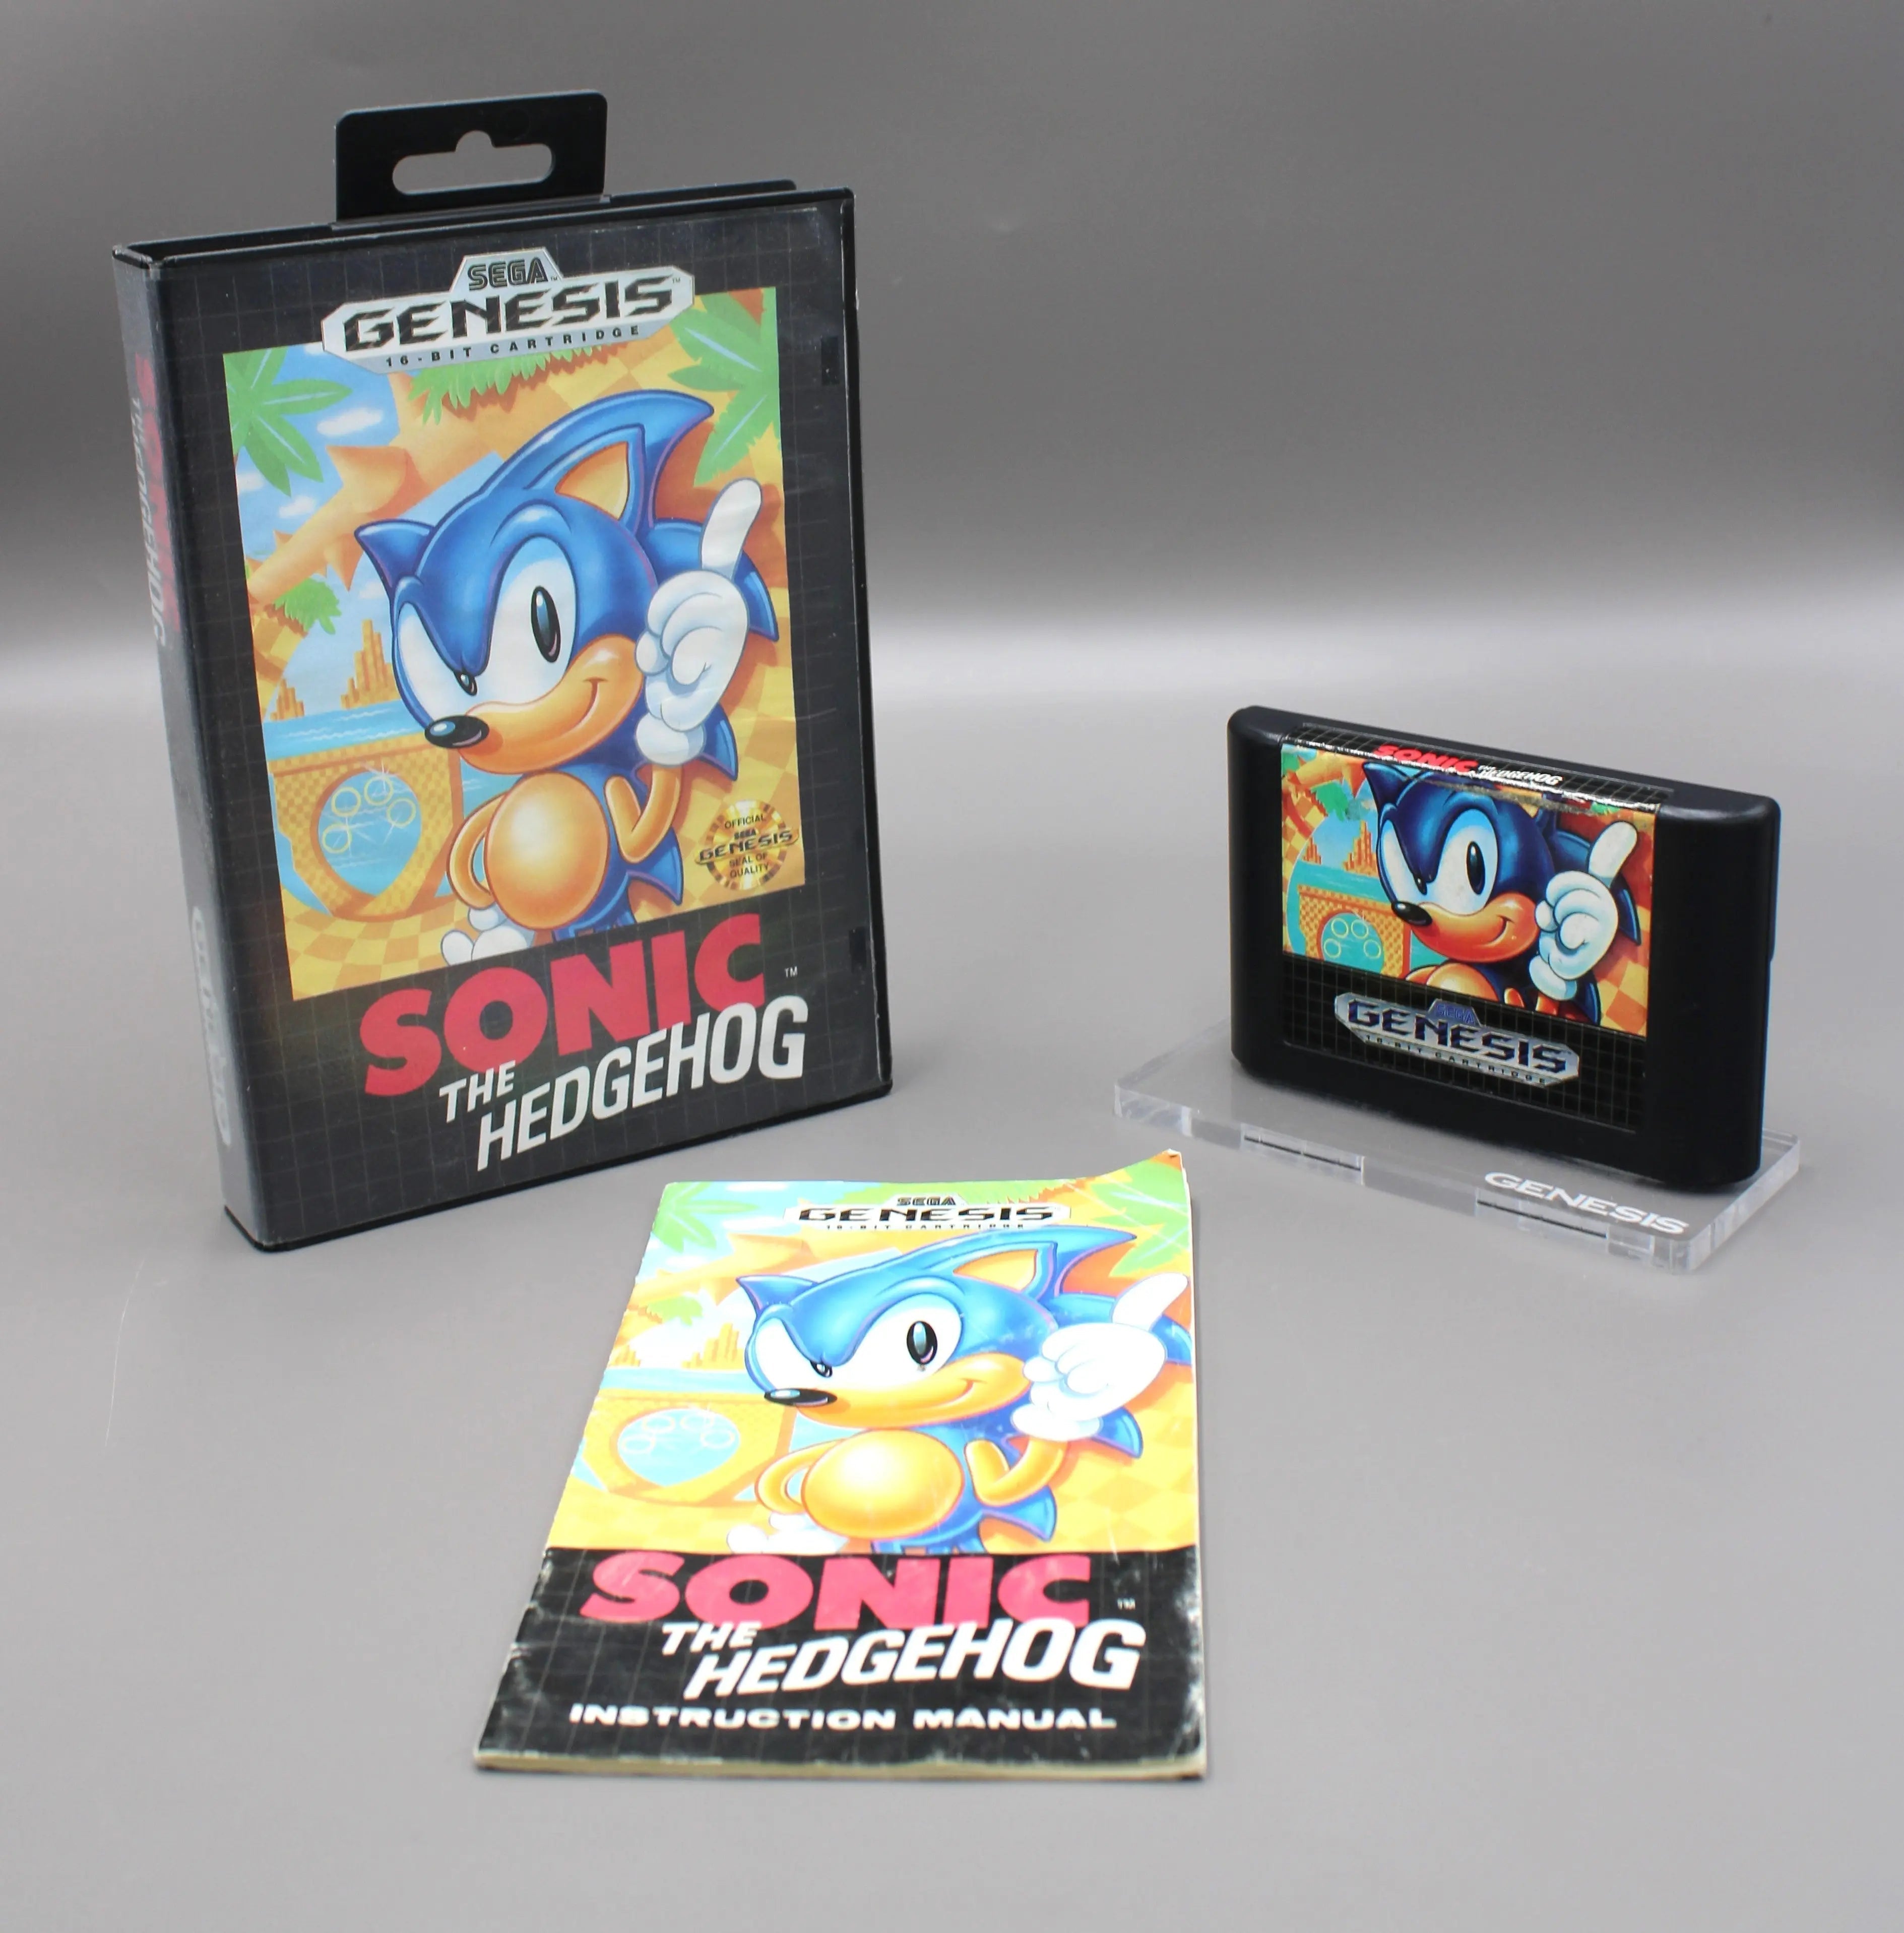
A Collector or Player's Guide to the Original Sonic the Hedgehog Sega Genesis Variants
When it comes to retro gaming, few franchises evoke as much nostalgia as Sonic the Hedgehog. Released in 1991 for the Sega Genesis, Sonic the Hedgehog not only revolutionized platforming games but also became a cornerstone of Sega’s marketing efforts during the 16-bit console wars. Collectors of retro games often find themselves fascinated by the different retail variants of Sonic the Hedgehog cartridges and cases, including the original release, the second print run, and the iconic “Not For Resale” edition. This blog dives into the differences among these versions, examining their inserts, case designs, and how they were originally distributed.
The “Not For Resale” variant is significantly less expensive than the “Retail” version of the first Sonic game. Usually when we see a “Not For Resale” on a game cartridge we see $$$, but it is the complete opposite in the case of Sonic The Hedgehog for the Sega Genesis! Many people assume that the NFS version is more valuable and often you’ll see on local marketplaces that they jack the price up on these, but if you look hard enough, you can snatch up a Retail version for way less than on Ebay or Mercari. I have noticed that a lot of video game stores do not price these variants differently.
Gaming History,
Retail Releases,
Retro Gaming,
Sega Genesis,
Sonic the Hedgehog,
Video Game Collector,
Video Game History
0 comments
The First Sonic The Hedgehog Video Game for the Sega Genesis - Back to 1991!
Now that I am looking back over the years, researching different "timeless" video game stars, there are few characters are as iconic or as beloved as the little blue blur known as Sonic the Hedgehog. He is memorable and stood the test of time. Bursting onto the scene in 1991 as the flagship title for the Sega Genesis console, Sonic revolutionized the platformer genre and solidified Sega's position as a major player in the fiercely competitive video game market of the early '90s. Decades later, Sonic's influence still reverberates through gaming culture, and the first release of the series remains a cherished artifact among retro video game collectors and enthusiasts.
![What Video Game Titles for the Sega Genesis (Alphabetical List) Take a CR2032 Save Battery? [NTSC-US/Canada]](http://www.videogamegemvault.com/cdn/shop/articles/IMG_1894.jpg?v=1744901190&width={width})
0 comments
What Video Game Titles for the Sega Genesis (Alphabetical List) Take a CR2032 Save Battery? [NTSC-US/Canada]
Before we hop into the list of Sega Genesis Video Game Titles that use a battery for the save function we wanted to note that replacing a dead or dry battery does require soldering and certain tools listed below.
Requirements for soldering: (Most of this is easily found on Ebay or Amazon)
- Soldering Iron - Recommend a full soldering station
- Here is a link for an X-Tronic under $70 on Amazon - X-Tronic 3020 Soldering Station
- If you're not an Amazon fan, then perusing Ebay is definitely your best bet!
- A CR2032 battery with solder tabs. You can check out our short tutorial on basic soldering here.
- Many of the new save batteries are duds, so if you have a multimeter they are easy to test. Just like a car battery - positive to engine to steering wheel... wait? Also, the save battery may not be the issue you are having with your game (Usually is) but if your old battery is reading at 3 volts, then you may have to explore other avenues to get your game to save properly.
- Flux Paste - Recommend MG Chemicals Brand
- Desoldering Copper Braid - to soak up solder
- We sell the (most of the time) required 4.5mm Gamebit tool! required to disassemble your cartridge! - Sega has a quite a few games that do not have the "standard" Sega bit. I personally love the IFIXIT precision tool kit so here's a link to their website for a $40 kit, but of course you can find many different kits out there! The Sharden precision set is a good one too on Amazon, but within 6 months the screwdriver always runs off on you or unfortunately breaks,
- Check out our 28 minute save battery tutorial vide